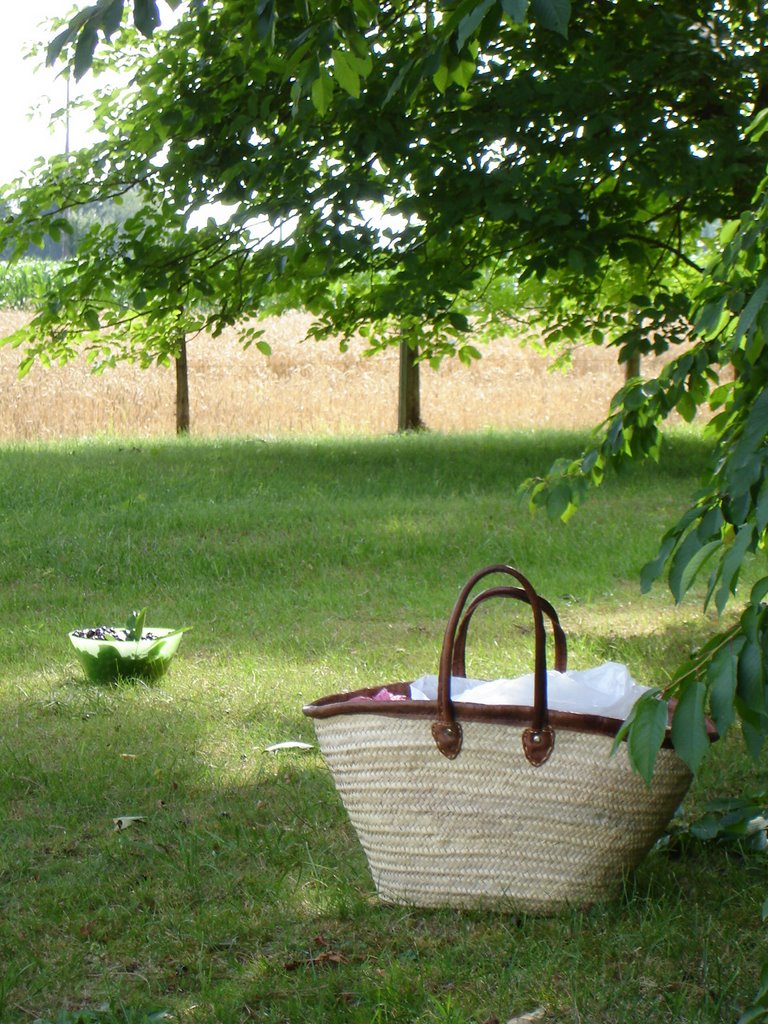
 When Kathy invited me to come pick cherries from her overladen trees, I did not need a second invitation! After enjoying a lovely breakfast in the early morning sun with the very charming Janiec** family, and armed with a big basket and a plastic chair to stand on, I spent almost an hour picking almost 3kg of cherries.
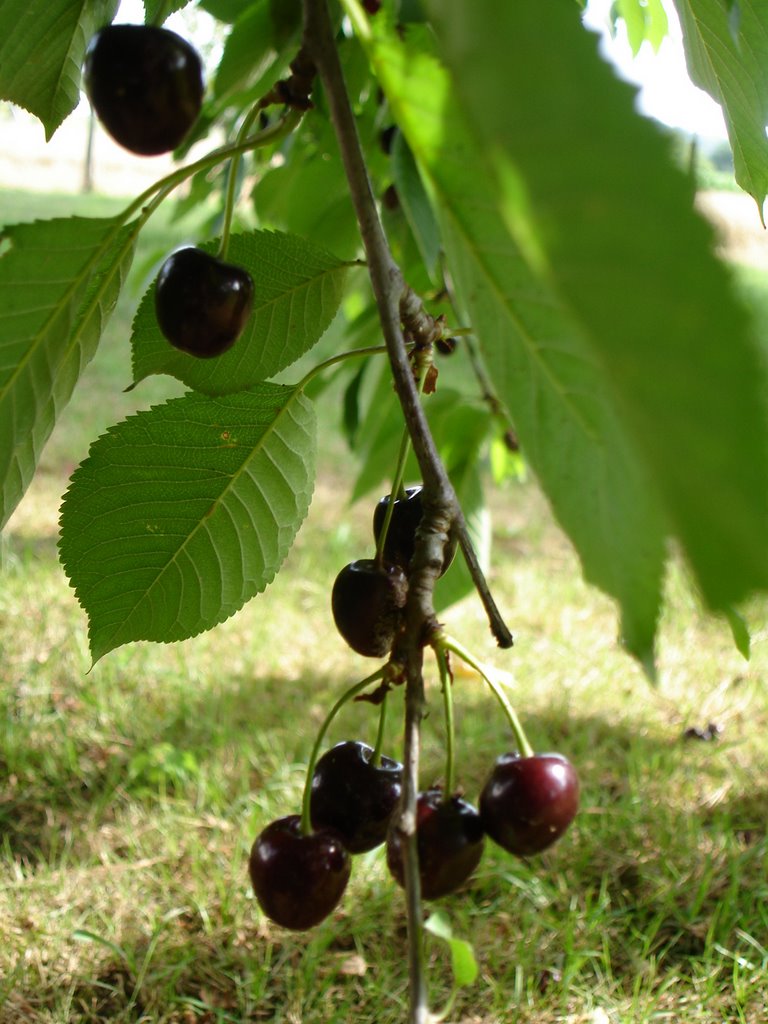 Kathy had given me all sorts of ideas for different recipes she had tried and tested -- and she is a master chef, I can tell you!, but I could not resist looking up what other bloggers had to say about making cherry jam, and loved discovering a delightful blog**.(**I will share more about that with you later, but in the mean time, I must say "with most humblest of humble apologies to Dave Liebovitz - a man I just have to meet!) The "No Recipe Cherry Jam" I found sounded exactly like the kind of no-recipe that I like, so I used it and can proudly claim that my jam is quite ready to compete with the best Mrs Davis has to offer at the Chobham September Show!
David's No-Recipe Cherry Jam
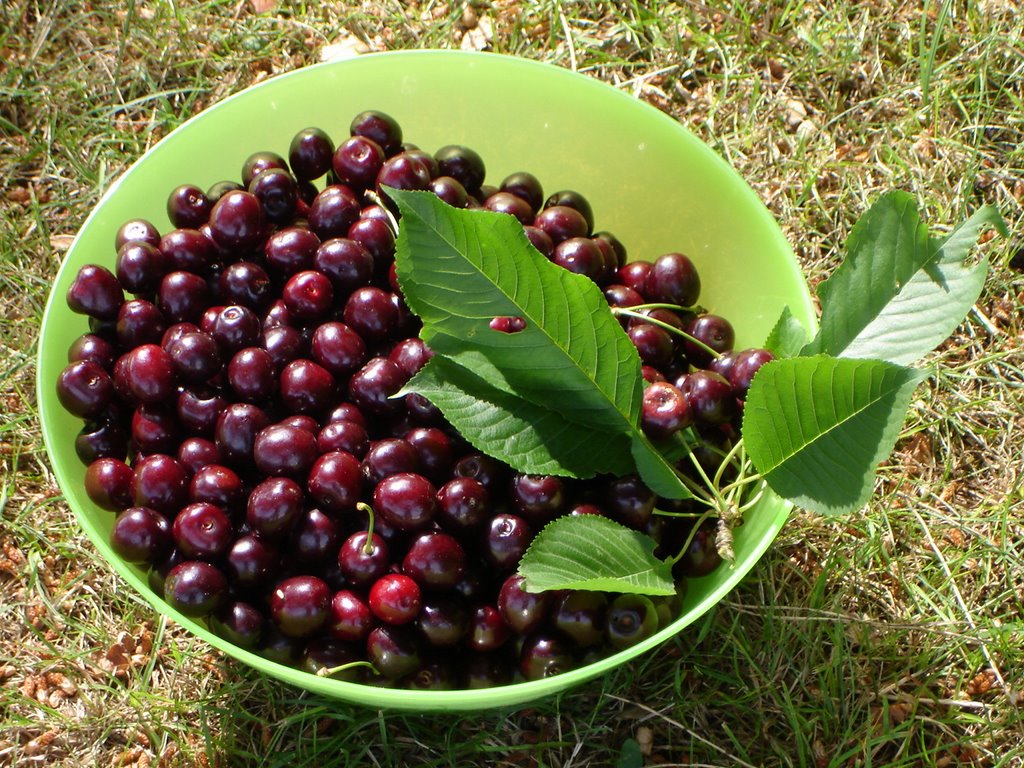 Use as many cherries as you feel like pitting. Kathy lent me her de-stoning gadget -- brilliant! I thorougly enjoyed de-stoning a million cherries with no problem! (at which stage do I start confessing that the very first spoonful of cherry jam I tasted once it had cooled down had an un-de-stoned cherry?..) You can calculate on about 500gr of cherries for one good-sized jar of jam. All kinds of cherries work well, but if you can find sour cherries, your jam will rock!
 Wear something red. Well - always wear something red, but especially when making cherries. One does get into cherry juice up to your elbows. Rinse the cherries and remove the stems. Using the handy cherry de-stoner that I hope a very good friend will loan you for the day, pit the cherries. Make sure to remove all the pits since everyone is so litigious these days. Most recipe's say to chop about ¾ of them into smaller pieces, but this is a no-recipe, so ignore that advice. The jam looks beautiful when the cherries are whole. They might tumble off your toast and stain your pajamas, but you are wearing red pyjamas, aren't you?
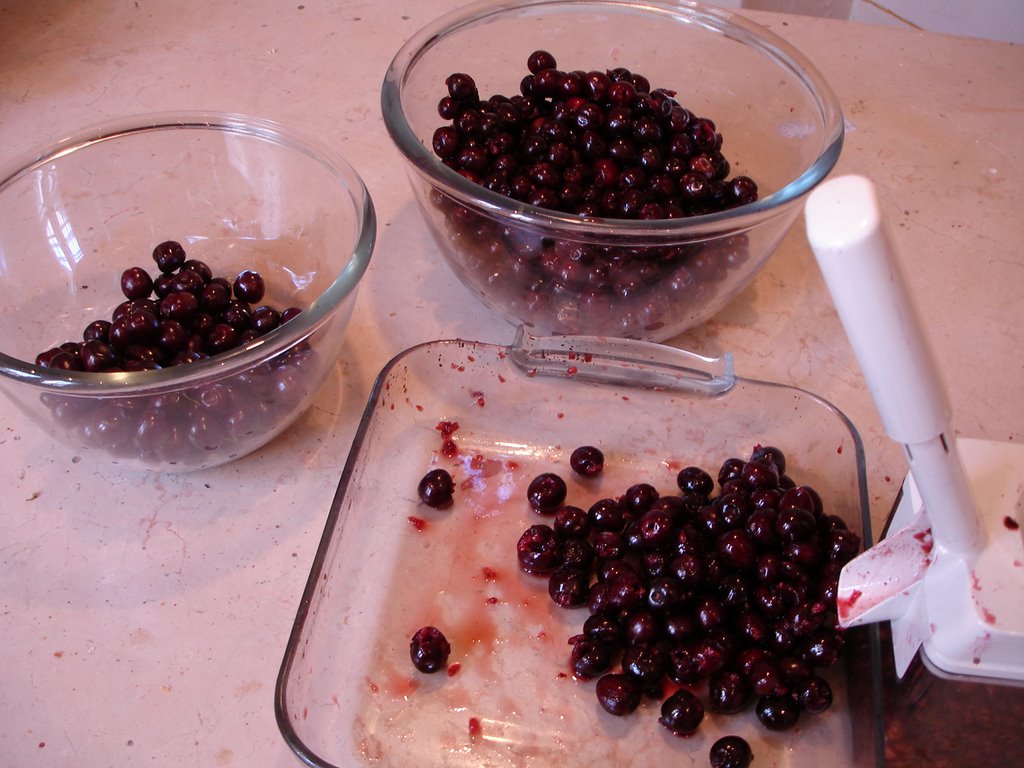 Cook the cherries in a large non-reactive stockpot. It should be pretty big since the juices bubble up. Add the zest and juice of one or two fresh lemons. Lemon juice adds pectin as well as acidity, and will help the jam gel later on. See how smart I am? And I love the little bit of sourness to take the edge off the sweet. (only in my jam, though)
While they are boiling, stir them once in a while with a wooden spoon or heat proof spatula, until they're wilted and completely soft, which may take about 20 minutes, depending on how much heat you give them.
 Once they're cooked, measure out how many cherries you have (including the juice.) Use 3/4 of the amount of sugar. For example if you have 4 cups of cooked cherry matter, add 3 cups of sugar. It may seem like a lot, but that amount of sugar is necessary to make a lovely jelly and to keep the jam from sprouting green whiskers after a few weeks in the refrigerator. I measured the cherries in cups before they were cooked -- a fat lot of good that does to your measuring. But the formula of 1:3/4 still worked for me. Beautifully.
Stir the sugar and the cherries in the pot and cook over moderate-to-high heat. The best jam is cooked quickly. While it is cooking, put a small white plate in the freezer. In spite of the fact that you may need to use the bathroom or lower the volume on the commentator shouting at Thierry for missing a kick in the World Cup match, remain pretty vigilant and stir the fruit often with a "heatproof utensil" -- nothing stirs like a wooden spoon, is what I say. Scrape the bottom of the pot as you stir as well.
 And no matter how good they look, resist popping a warm cherry into your mouth. They are really hot, take it from me, and you will burn your mouth. Yes, take it from me. Ouch! It hurts.
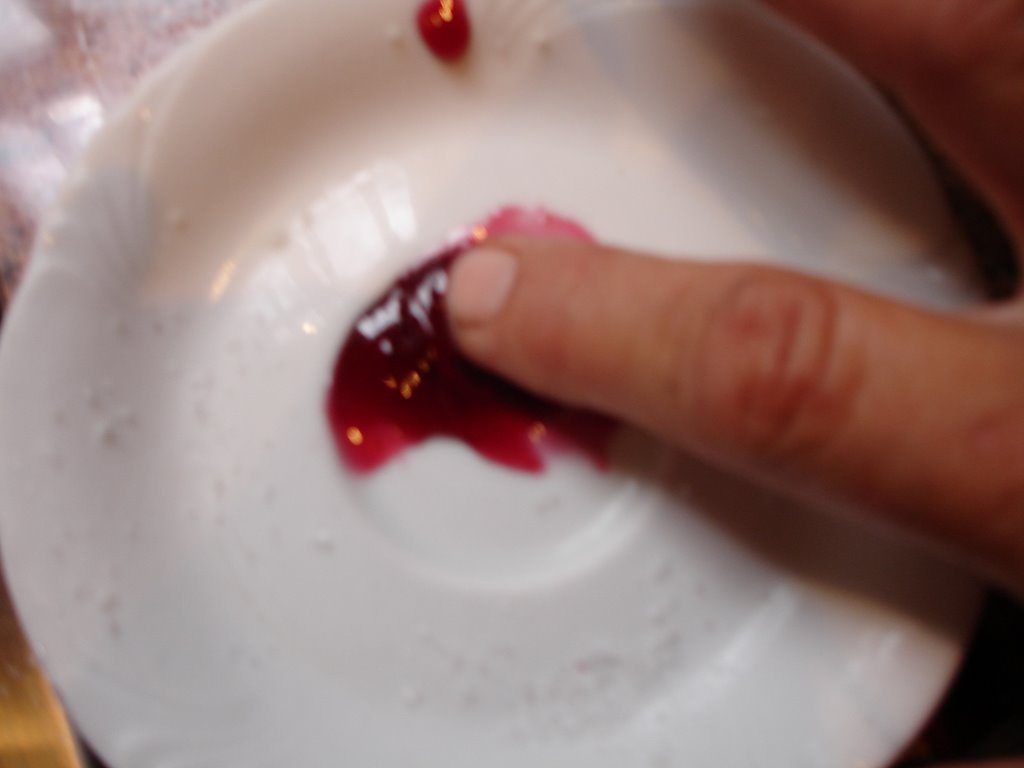
Once the bubbles subside and the jam appears a bit thick and looks beginning to gel, (it will coat the wooden spoon in a clear, thick-ish, jelly-like layer, but not too thick) turn off the heat and put a small amount of jam on the frozen plate and return to the freezer. After a few minutes, when you nudge it if it wrinkles, it is done.
 If not, cook it some more, turn off the heat, and test it again. If you overcook your jam, the sugar will caramelize and it won't taste good and there's nothing you can do. Better to undercook it, test it, then cook it some more.
(Are you beginning to understand why all those gourmet jams are expensive?)
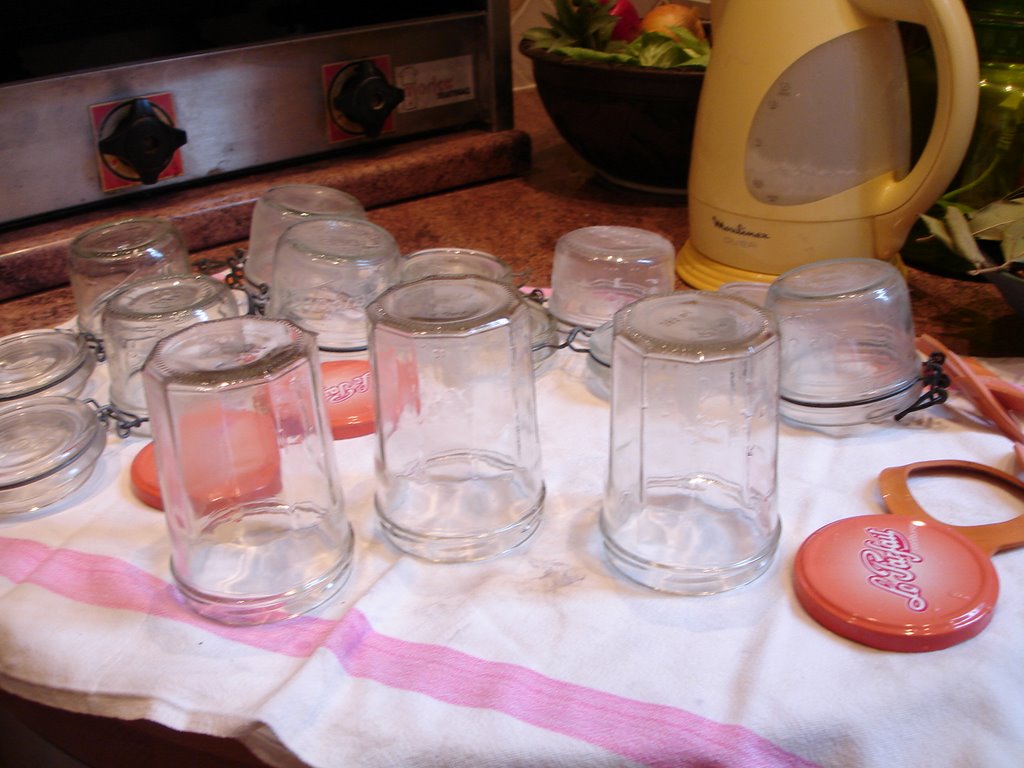
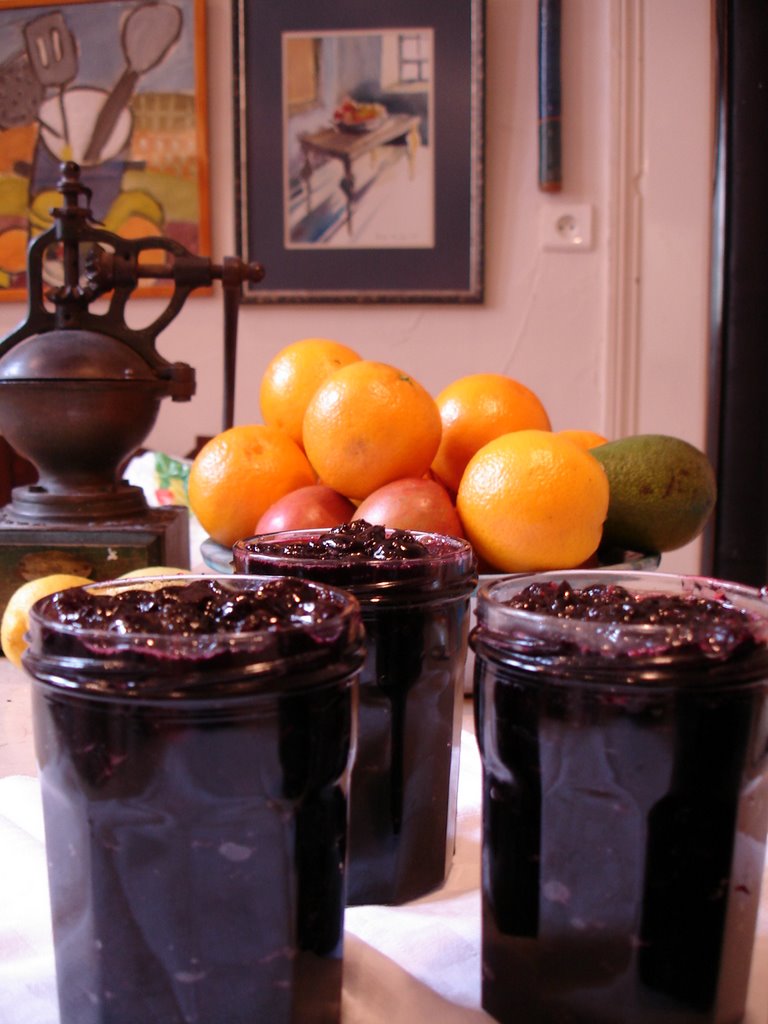
Once it's done and gelled, add a bit of kirsch if you have it, clear cherry eau-de-vie which will highlight the flavour. Or add a few drops of almond extract, but not too much, or it will taste like a cheap Italian cake. Ladle the warm jam into clean jars and cover. Cool at room temperature, then refrigerate.
**Jeff Janiec: An excellent decorator : kathyjaniec@yahoo.fr
Click on Link:
Chateau Lalinde : The perfect venue for your event
TAGS: Events Rent a chateau France
Chateau
Perigord Food Holidays in France Recipes


